How to Create a Rock-Solid Woodworking Bench (Step-by-Step Guide)
A good woodworking bench is the heart of any workshop. Whether you're a hobbyist or a professional, a solid, well-designed bench gives you the stability and features you need to work efficiently and safely.
In this blog, we’ll walk through how to build a traditional, sturdy woodworking bench with a thick hardwood top, strong base, and optional vise support. Diagrams and visual guides are included to help every step of the way
🧰 Materials & Tools
Materials:
2x Hardwood butcher block or laminated hardwood boards for benchtop
4x4 or 6x6 posts for legs
2x6 boards for stretchers
Wood glue
Wood screws / lag bolts
Vise (optional)
Drawer slides & plywood (optional for storage)
Tools:
Circular saw or table saw
Drill/driver
Clamps
Chisel
Sander
Measuring tape
Square
Wood finish (e.g., linseed oil or polyurethane)
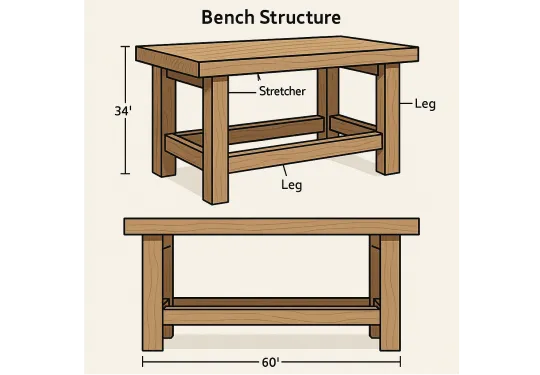
Here’s a basic diagram of the bench structure:
📐 Bench Design Overview
Dimensions:
Height: ~34" (adjust to your comfort)
Top: 60" x 24" x 2.5"
Legs: 4x4 posts
Stretchers: 2x6 boards
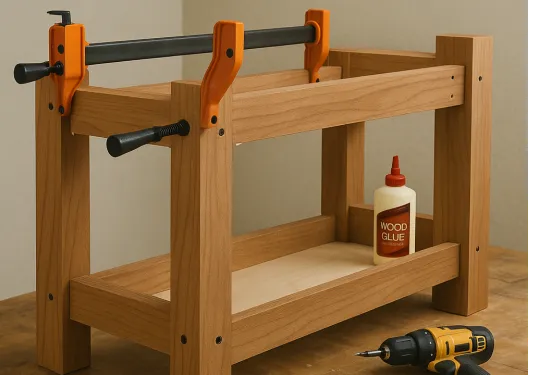
Step 1: Build the Base Frame
Cut the Legs: Cut 4 legs from your 4x4 or 6x6 posts (around 32–34” long).
Cut the Stretchers: Use 2x6 boards to connect the legs — two for the top and two for the lower shelf support.
Join the Frame: Use lag bolts or wood screws to attach the stretchers to the legs. Reinforce with wood glue.
Add Bottom Shelf (Optional): Add a plywood panel across the lower stretchers for tool storage.
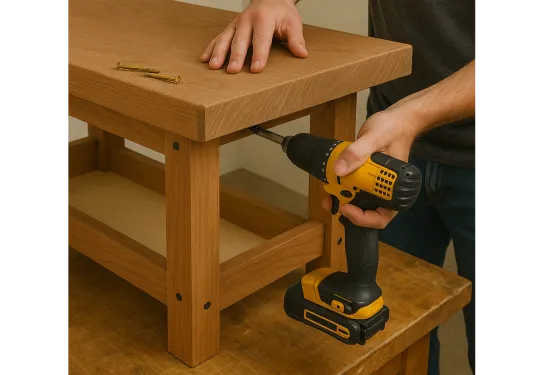
Step 2: Prepare and Install the Benchtop
Glue Up Boards (if not using a pre-made top): Clamp multiple hardwood boards edge-to-edge using glue.
Sand Smooth: Use a belt or orbital sander to flatten and smooth the top.
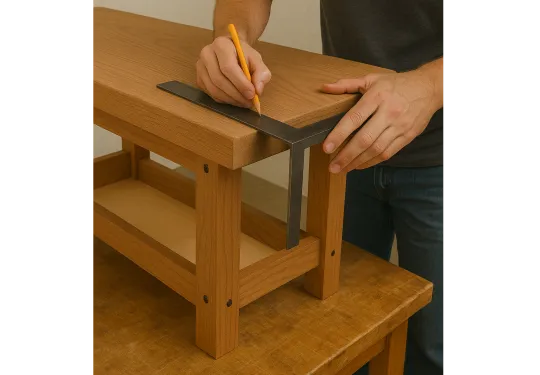
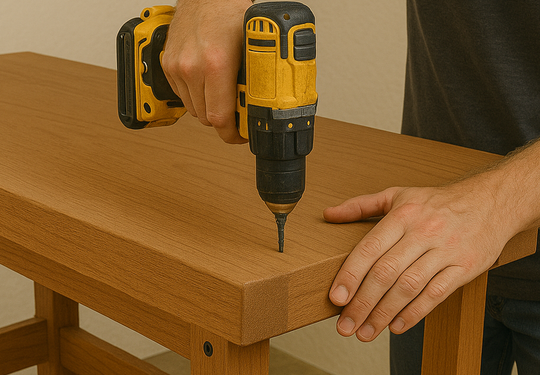
Attach Top to Base: Secure the benchtop to the base using screws from underneath. Ensure it's centered and square.
Step 3: Add Vise (Optional)
Choose either a front vise or end vise.
Use a Forstner bit and chisel to create mounting recesses for the vise hardware.
Attach securely to the front corner of the bench.
Step 4: Finish the Bench
Apply linseed oil, tung oil, or polyurethane.
Let it cure for 24–48 hours.
Optionally, add dog holes, tool tray, or T-track system later on.
🗂️ Optional Add-ons
Drawers: Use ¾" plywood and metal slides to install a drawer system underneath.
Power Strip: Mount a power strip to the side for easy access to tools.
Casters: Add lockable casters if you need mobility.
🧪 Final Thoughts
A handmade woodworking bench will outlast anything you can buy in a store, and you'll build priceless skills in the process. Don’t rush the process — take your time with joinery and finishing, and you’ll end up with a bench that’s both functional and beautiful.